Time to wrap this up with Standing. It’s the hardest position to shoot from but not impossible. There are few different takes on the Standing position and their variations. Colonel Cooper made a distinction between “Offhand” and the “Standing” stating that the “Standing” was a deliberate position used only for slow fire whereas the “Offhand” was for quick shooting. We will continue on with the work that Colonel Cooper started but break the “Standing” position down into two variations. A “Field” standing and a “Target” type of standing used in High Power and Smallbore competition, though we will not discuss the use of the specialty clothing. Not that there’s anything wrong with that…
Standing
The hardest and least accurate of all the shooting positions. There are many different approaches to shooting while standing and the distance involved should guide your position. This write up is on basics and this series is on accuracy, so we will stay with that. The basic standing position can be broke down to each area contacting the rifle and body.
The Body– Tall and straight and just like sitting, you do not face the target straight on, we are not doing Magpul CQB gun driving. That has a place and is a great method but that is not what we are learning right now. Keep that 30-60 degree angle to the target, whichever works for you. Legs spread, a nice fighting stance? Straight legs? More weight front or back leg? As long as you are balanced and comfortable and achieving your Natural Point of Aim don’t over think it.
The Support Hand– The hand will be in contact with the forearm of the rifle as close to the magazine well as needed to maintain proper sight elevation. The closer to the magazine well, the less muscle you will be using to support the end of the rifle (Yet on the AR15 the 30 round magazine may very well get in your way. A smaller magazine may alleviate this (5’s, 10’s and 20’s are available) and may even be a contact point for the palm of your hand.). Fingers pointing in line with a straight wrist (but can and should be relaxed) with the heel of the hand supporting forearm of the rifle.
The Support Elbow/Arm– Will be straight down and directly under neither the rifle creating a triangle. The arm will be in contact with the torso and resting against it. Remember the rule of using the bones to create a solid shooting position? Yep, it still applies and is just as important and more so when standing. Having this correct will help ensure that your sights are tracking your target as vertical as possible with each breath. This obviously becomes more difficult with standing due to the previously mentioned “wobble area” which is at its most pronounced while standing.
The Action Hand– Will be holding the grip firm but will not be white knuckling the grip. It will be providing some rear-ward pressure into that very nice pocket the shoulder/collar bone create. But just like before he trigger finger will NOT be pressing against the stock/receiver/grip of the rifle and will work independently to pull the trigger straight back to the rear of the rifle.
Rear Elbow/Arm– Will balance out the position to help create that Natural Point of Aim. When target shooting there is nothing wrong with having the rear elbow at the height of the shoulder. Some may say that you should not “chicken wing” your rear elbow. Again, this is target shooting and we are not worried about being shot. Do what works for you.

Crab Claw

The Standing position just described is a very general explanation to get you started. Now we will get a little more in depth with it. Here are a few variations more inline with “Target” shooting as opposed to “Field” shooting.
Body– NOT a fighting stance, standing perpendicular to target.

Feet– Parallel to target and parallel to each other.
Legs– Slight bend at the knees to avoid locking them out. Forward leg more vertical, rear leg with a slight angle due to the hips being pushed slightly forward.
Hips– Perpendicular to target and stay that way, meaning that if you were to be standing next to your target your left hip (or right hip if left handed) would touch it and you would create a “T” with it. Do not twist them towards target. You will lean your hips slightly forward.

Torso– As a separate unit from the hips, the torso will twist to point the rifle at the target. This is not a dramatic twist it is a slight twist. Back can be leaned slightly back; with hips being pushed forward allows the elbow to rest on or close to the hipbone and flat against the torso.

Couldn’t find the Raw photo so we had to rebrand it this way

Support Elbow/Arm– No real changes from above.

Support Hand– No real changes from above. Different options are available though.
Palm– Hand angled back to allow rifle to be supported on the palm of the hand.

“Crab Claw” (C-Clamp)– Same as above but with the thumb wrapped around the forearm for added lateral support.

Fingers and Thumb– Using the fingers and thumb to prop the rifle up, not recommend to new shooter.

Palm and Fingers– More suited to use with a 5 round magazine.

Fist– Simply making a fist and resting the rifle on the flat of the fist. Also not recommended.

Action Hand– No real changes from above.
Rear Elbow/Arm– Relaxed down along the side of the torso, doesn’t have to touch, just be relaxed.

Some tips on Standing and Trigger Control can be found here from the AMU.
Next I will describe what you may see more often, some call it Offhand. Standing and Offhand are similar as they both require standing but Offhand is focused more on speed as much as accuracy while the Standing is a very deliberate position with focus on accuracy only.
Offhand
Yes, some Magpul CQB gun driving!
Stance– A good solid fighting stance (boxer), left leg slightly forward, weight slightly pushed forward on the balls of your feet with knees slightly bent. Your torso is slightly angled, but you may find yourself fairly squared. Leaning in with your support arm may take away some of that square if you like. And finally lean in a touch to absorb recoil. This gives you an aggressive solid foundation.

Arms– Just like the boxer your arms are out in front of you with your elbows down. You do not “chicken wing” in this position. Your support arm is extended out as far as comfortable maintaining a slight bend in the elbow. Here you can wrap your thumb over the top of the forearm and rotate your elbow up (maintain that bend). This will give you a very aggressive hold on the rifle. You can point your thumb forward if you like as well. In none of these do you have to rotate your elbow up. You can maintain a more traditional elbow position if you like but try and keep that arm extended out. Your goal here is to find the combination that allows you speed and accuracy that is acceptable for what you are doing and is comfortable to maintain.


I find that if I am using a sling and I can rotate my elbow up/out against the sling and create a very solid shooting position. You need to be careful here though. If you do not have a “free float” barrel you can cause severe shifts in the POI due to pulling the barrel by way of the forearm of the stock where your sling is attached.

I also prefer this method of standing shooting and due to spending so much of my time shooting from this position and am more accurate in this Offhand position as opposed to the traditional Standing.
And there you have it, the standing shooting positions in its most basic form and its most technical. As you progress you can modify it to meet your needs and shooting scenario. At this point I will mention a few things of note.
Slings– You can use a sling in just about every position to help your stability and lock into it. There isn’t much to it. You adjust it to fit you, you weave your support arm through it keeping it as high in the armpit as possible. Depending on the position you are shooting from will depend on how you “tighten” it up with your support arm. The goal is that you can adjust it so you don’t need to pull your elbow in or push it out too much to tighten or loosen your sling once in position. But if you need to, so be it as long as it does not require major shifts in position to “tighten” up. If that is the case you need to make adjustment on the sling.
Get in high in the arm pit


Then wrap you hand through the front to grab the forearm, keeping the sling high in the armpit.


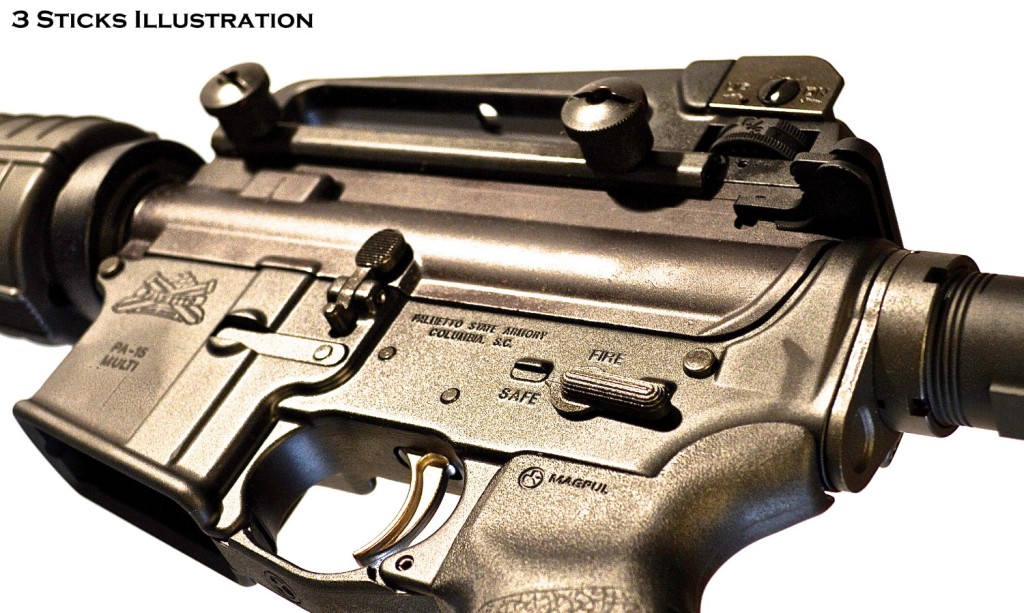
Typically a 2 point sling or variation of it will be what you are looking for. The market is flooded with different types of slings for different uses. A standard two point military web sling is a good starting point for a sling for marksmanship. If you are interested in the sling that I have on this particular AR15 it is the Universal Swift Sling. It can be adjusted to fit many different needs. When hunting I use it as a 3-point sling as it’s more comfortable on a long hike when a quick shot may be presented or as a tradition 2-point sling if shooting for accuracy as demonstrated in this series on Basic Rifle Marksmanship (BRM).
More on sling use can be found here from the AMU.
Congratulations! You stuck out what is often a not very exciting topic to read about. It’s more fun to work all this out on the range in real time but if you don’t have a basic understanding on where to start, that range time can be extremely frustrating. To the point that it is simply not fun, and shooting is ALWAYS suppose to be fun. Lets make that a rule right here and now!
Up next we will cover the most important aspect of shooting. Stay tuned!
*This post and the information herein is for informational and educational purposes only. Use at your own risk. Always follow the 5 rules of Firearms Safety when handling any firearm.
*If you like this content and would like to support the page you can do so here.

Leave a comment